In today's digital age, the concept of remote IoT (Internet of Things) behind a router using Raspberry Pi has become increasingly relevant for both hobbyists and professionals. Setting up remote access to your IoT devices through a Raspberry Pi offers flexibility, cost-effectiveness, and enhanced security. Whether you're managing a smart home or running industrial applications, this setup can revolutionize the way you interact with connected devices.
Remote IoT solutions have evolved significantly over the years, allowing users to control and monitor their devices from anywhere in the world. With the rise of cloud-based platforms and edge computing, the Raspberry Pi has emerged as a powerful yet affordable tool for creating secure remote IoT setups. This guide will walk you through the process of setting up remote IoT behind a router using Raspberry Pi, ensuring you have the knowledge and tools to make it work without incurring additional costs.
Whether you're a beginner or an experienced developer, this article is designed to provide you with step-by-step instructions, expert tips, and valuable resources to help you build a robust remote IoT system. Let's dive in and explore how you can harness the full potential of Raspberry Pi for your IoT projects.
Read also:Is Bob Lazar Still Alive Unveiling The Truth Behind The Controversial Physicist
Table of Contents
- Introduction to RemoteIoT Behind Router Raspberry Pi Free
- Raspberry Pi Overview
- Why Choose Remote IoT?
- Setting Up Raspberry Pi for Remote IoT
- Network Configuration for Remote Access
- Securing Your Remote IoT Setup
- Troubleshooting Common Issues
- Advanced Features and Customizations
- Real-World Applications of Remote IoT
- Conclusion and Next Steps
Introduction to RemoteIoT Behind Router Raspberry Pi Free
What is Remote IoT?
Remote IoT refers to the ability to access and control Internet of Things devices from a remote location. This setup is particularly useful for managing smart homes, industrial automation, and other IoT applications. By leveraging Raspberry Pi as a central hub, users can create a secure and efficient remote IoT system without relying on expensive hardware or proprietary solutions.
Benefits of Using Raspberry Pi for Remote IoT
Raspberry Pi offers several advantages for remote IoT setups, including:
- Cost-effectiveness
- Highly customizable hardware and software
- Large community support and extensive documentation
- Compatibility with various operating systems and programming languages
Key Considerations for Remote IoT
Before diving into the setup process, it's essential to consider factors such as network security, data privacy, and hardware requirements. Ensuring a stable and secure connection is critical for the success of your remote IoT project.
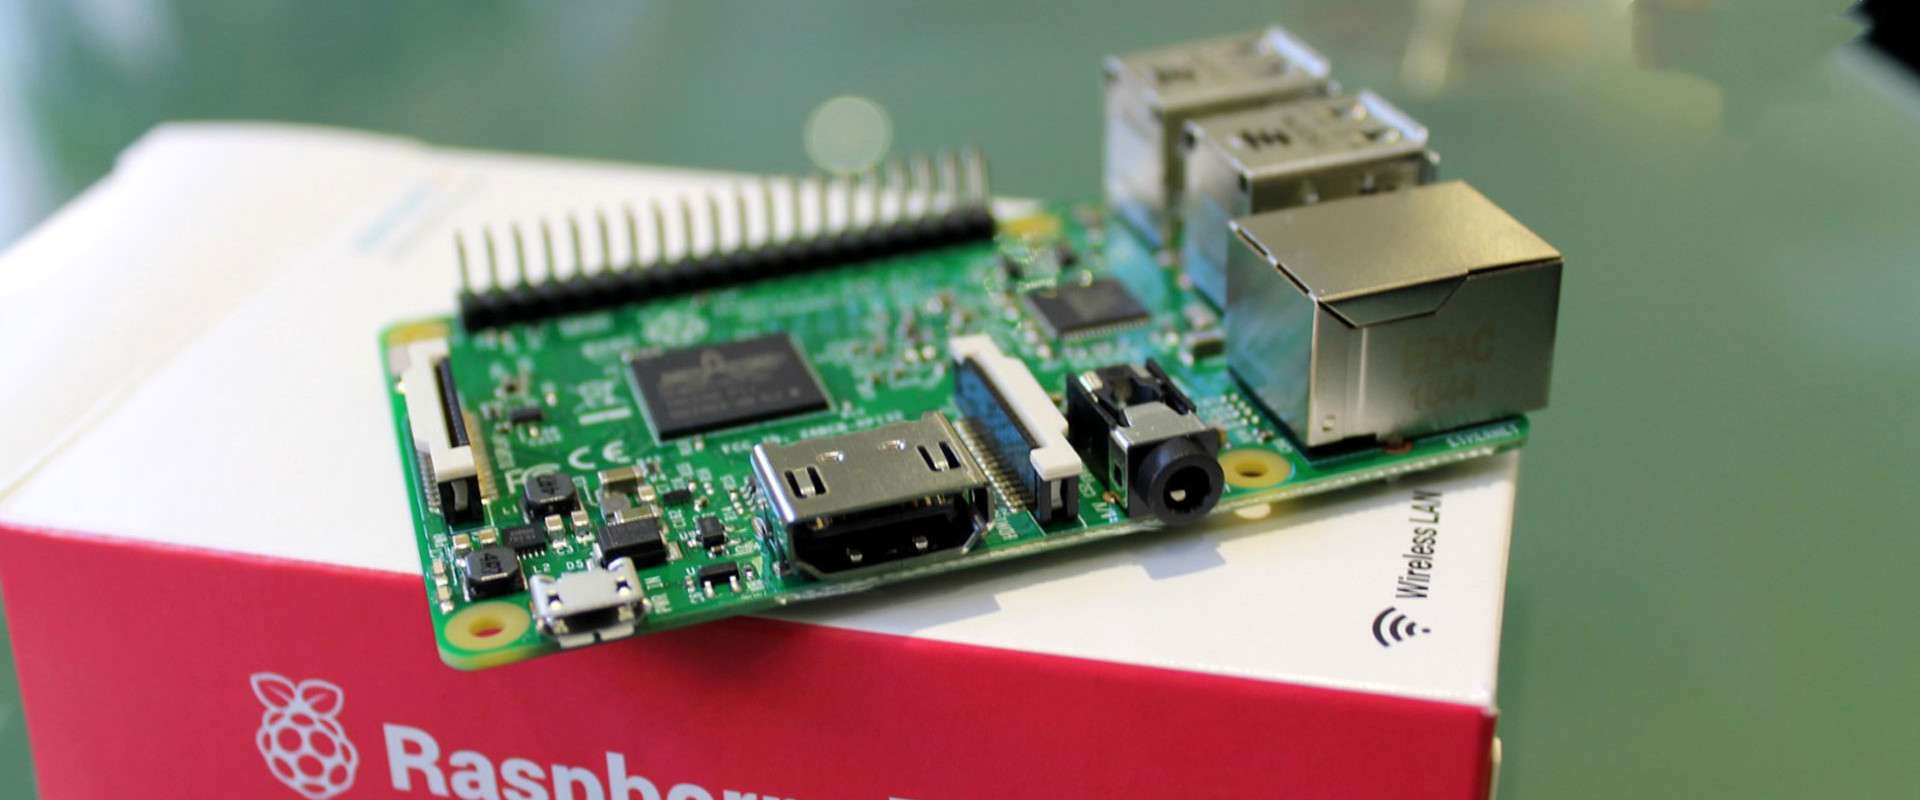
Raspberry Pi Overview
Raspberry Pi is a small, single-board computer that has gained immense popularity among hobbyists, educators, and professionals. Its versatility and affordability make it an ideal choice for a wide range of applications, including remote IoT setups. In this section, we'll explore the key features and capabilities of Raspberry Pi that make it suitable for remote IoT projects.
Hardware Specifications
Raspberry Pi models come with varying specifications, but most versions include:
- Processor: Broadcom BCM2835 or later
- RAM: 1GB to 8GB depending on the model
- Connectivity: Wi-Fi, Bluetooth, Ethernet
- Storage: MicroSD card slot
- GPIO Pins: For interfacing with external devices
Operating Systems
Raspberry Pi supports multiple operating systems, including:
Read also:Pining For Kim Tailblazer A Comprehensive Guide To Understanding Her Impact On Fashion And Pop Culture
- Raspberry Pi OS
- Ubuntu
- Debian
- Arch Linux
Each OS offers unique features and capabilities, so choosing the right one depends on your project requirements.
Why Choose Remote IoT?
Remote IoT provides numerous benefits that make it an attractive solution for both personal and commercial applications. Some of the key advantages include:
Enhanced Flexibility
With remote IoT, you can access and control your devices from anywhere in the world, providing unparalleled flexibility and convenience.
Improved Efficiency
Automating tasks and monitoring devices remotely can significantly improve operational efficiency, reducing the need for manual intervention.
Cost Savings
By leveraging open-source software and affordable hardware like Raspberry Pi, you can create a robust remote IoT system without breaking the bank.
Setting Up Raspberry Pi for Remote IoT
Setting up Raspberry Pi for remote IoT involves several steps, including hardware preparation, software installation, and network configuration. Follow this step-by-step guide to get your Raspberry Pi ready for remote access.
Step 1: Hardware Setup
Begin by assembling your Raspberry Pi with the necessary components:
- Raspberry Pi board
- Power supply
- MicroSD card with pre-installed OS
- HDMI cable and monitor (optional)
- Keyboard and mouse (optional)
Step 2: Install the Operating System
Download the desired Raspberry Pi OS image and use a tool like Etcher to flash it onto your MicroSD card. Insert the card into your Raspberry Pi and boot the device.
Step 3: Configure Wi-Fi and SSH
Enable Wi-Fi and SSH access by editing the configuration files on the MicroSD card. This allows you to connect to your Raspberry Pi remotely without needing a physical connection.
Network Configuration for Remote Access
Proper network configuration is crucial for ensuring reliable remote access to your Raspberry Pi. This section covers essential networking topics, including port forwarding, dynamic DNS, and firewall settings.
Port Forwarding
Port forwarding allows you to direct incoming traffic from your router to your Raspberry Pi. Follow your router's documentation to set up port forwarding for the necessary ports (e.g., 22 for SSH).
Dynamic DNS
Dynamic DNS (DDNS) services enable you to assign a consistent domain name to your changing IP address, making it easier to access your Raspberry Pi remotely.
Firewall Configuration
Configure your firewall to allow only necessary traffic while blocking potential threats. Use tools like UFW (Uncomplicated Firewall) to simplify the process.
Securing Your Remote IoT Setup
Security is a top priority when setting up remote IoT systems. Follow these best practices to protect your Raspberry Pi and connected devices:
Use Strong Passwords
Create complex passwords for your Raspberry Pi and avoid using default credentials.
Enable Two-Factor Authentication
Implement two-factor authentication (2FA) for an extra layer of security.
Regularly Update Software
Keep your operating system and applications up to date to patch vulnerabilities and improve performance.
Troubleshooting Common Issues
Despite careful planning, issues may arise during the setup process. This section addresses common problems and provides solutions:
Connection Issues
If you're unable to connect to your Raspberry Pi remotely, verify your network settings, check port forwarding rules, and ensure your firewall allows the necessary traffic.
Performance Problems
Optimize your Raspberry Pi's performance by disabling unnecessary services, managing memory usage, and using lightweight applications.
Security Breaches
In case of a suspected security breach, immediately change all passwords, review access logs, and update your security measures.
Advanced Features and Customizations
Once your basic setup is complete, consider exploring advanced features to enhance your remote IoT system:
Automated Scripts
Create scripts to automate repetitive tasks, such as data collection and device monitoring.
Integration with Cloud Services
Integrate your Raspberry Pi with cloud platforms like AWS, Google Cloud, or Azure for enhanced scalability and functionality.
Custom Web Interfaces
Develop custom web interfaces using frameworks like Flask or Django to provide a user-friendly way to interact with your IoT devices.
Real-World Applications of Remote IoT
Remote IoT has numerous practical applications across various industries. Here are a few examples:
Smart Home Automation
Control lighting, thermostats, and security systems remotely to enhance comfort and security in your home.
Industrial Monitoring
Monitor and manage industrial equipment in real-time to optimize production processes and reduce downtime.
Agricultural Solutions
Implement remote IoT systems for precision farming, enabling farmers to monitor soil moisture, weather conditions, and crop health from anywhere.
Conclusion and Next Steps
In conclusion, setting up remote IoT behind a router using Raspberry Pi offers a cost-effective and powerful solution for managing connected devices. By following the steps outlined in this guide, you can create a secure and efficient remote IoT system tailored to your specific needs.
We encourage you to take the next steps by:
- Experimenting with advanced features and customizations
- Exploring real-world applications for your remote IoT setup
- Sharing your experiences and insights with the Raspberry Pi community
Don't forget to leave a comment below or share this article with others who may find it helpful. Together, we can unlock the full potential of remote IoT and drive innovation in the connected world.